Cabinets · 5 min read
How to refresh kitchen cabinets without replacing them
Shorewise Home Services · September 30, 2026

If your kitchen cabinet boxes are solid and the layout works for you, you probably don’t need new cabinets. Cleaning, painting, new hardware and a few small adjustments can make a kitchen look and feel very different, for a fraction of the cost and without taking the kitchen out of use for weeks.
The key is knowing what a refresh can fix and what it can’t. Here’s how to judge your cabinets, what each step involves, and where people usually go wrong.
Are my cabinets worth refreshing?
Open every door and drawer and look closely.
Good candidates:
- Solid wood or good plywood boxes, even if the finish is dated.
- Doors that are flat and not warped.
- Shelves that aren’t sagging and cabinet floors that aren’t swollen or soft.
- A layout you’re happy with.
Poor candidates:
- Particleboard that has swollen or crumbled, often under the sink.
- Thermofoil (vinyl-wrapped) doors that are peeling at the edges.
- Boxes that are loose from the wall or badly out of square.
- A layout that simply doesn’t work for how you cook.
If you have mostly good cabinets with one or two damaged ones, those can sometimes be replaced or rebuilt on their own.
Step one: adjust before anything else
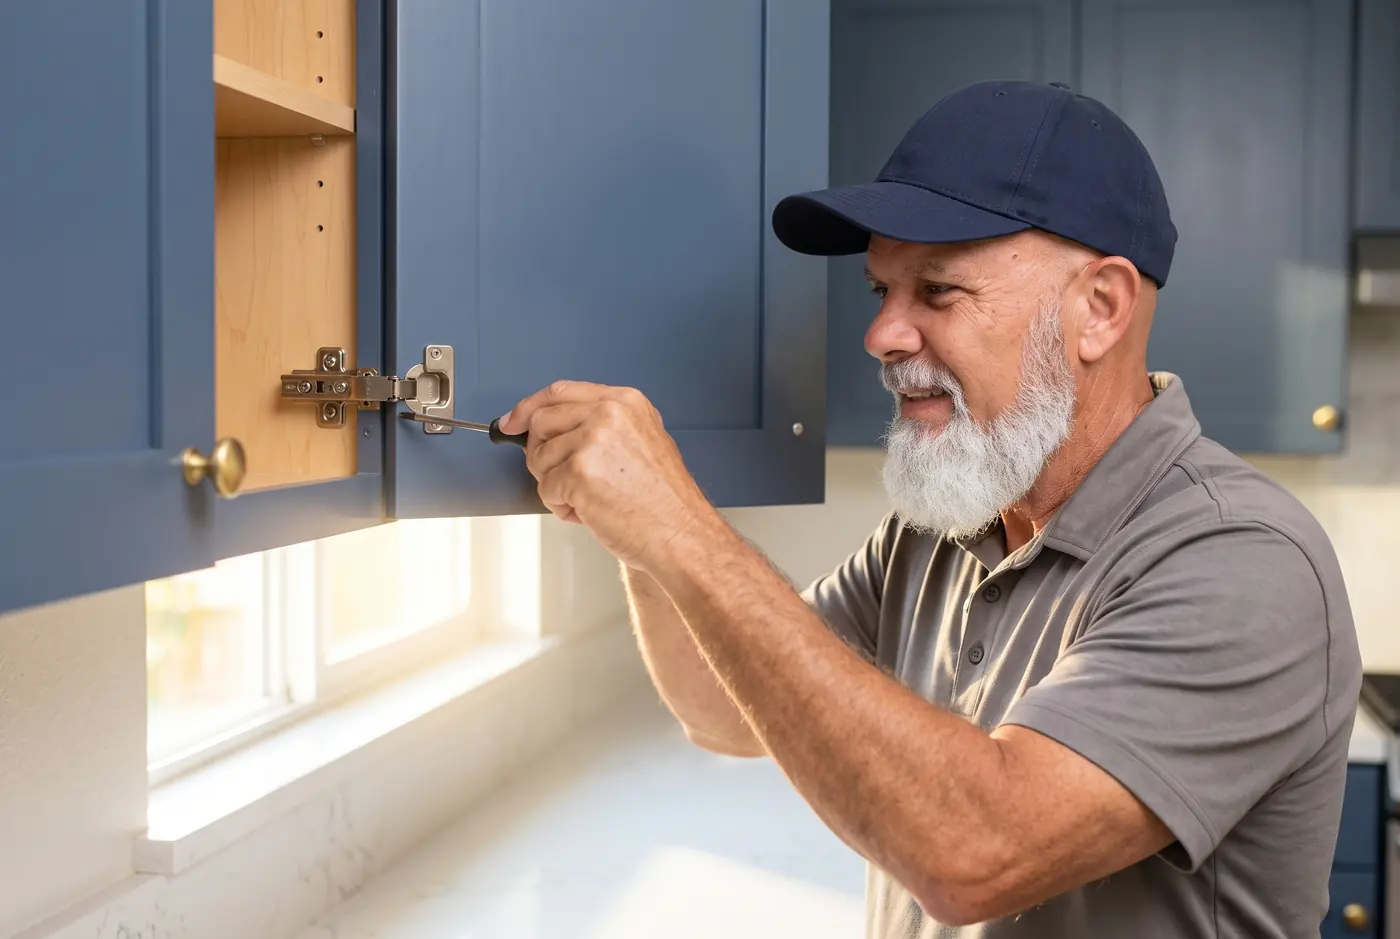
This is the cheapest part and often the most satisfying. Many modern cabinets use concealed hinges, the kind hidden inside the door. They usually have small adjustment screws that move the door:
- Side to side, to even out the gap between two doors.
- In and out, so the door sits flush against the cabinet.
- Up and down, so the tops of doors line up across the run.
A quarter turn at a time is plenty. A kitchen where every door is lined up and closes softly feels newer before a drop of paint goes on.
While you’re there, tighten loose hinge screws and drawer slides. If a screw spins without tightening, the hole is worn out. It can be filled with glue and wood slivers or a dowel, then re-drilled.
Soft-close is often possible too. Many concealed hinges have soft-close versions or clip-on dampers, and many drawers can take add-on soft-close devices.
Step two: clean properly
Kitchen cabinets carry a film of cooking grease, especially near the stove, even when they look clean. Paint won’t stick to grease. They need a proper degreasing clean, a rinse, and time to dry fully. Skipping this is one of the most common reasons painted cabinets chip and peel.
Step three: paint that holds up
Painted cabinets get touched hundreds of times a week, so the process matters more than the color.
- Remove the doors and drawer fronts and label each one with where it goes. Painting them flat gives a smoother finish with fewer drips.
- Take off all the hardware. Painting around hinges and knobs always shows.
- Scuff-sand every surface so the primer has something to grip.
- Use a bonding primer made for slick surfaces.
- Use a paint made for cabinets and trim, not ordinary wall paint. Cabinet and trim enamels level out smoother and dry much harder.
- Thin coats, with full drying time between them. On humid days, that drying time can be longer than the can suggests. See interior painting in Southwest Florida humidity.
Then be patient. Paint can feel dry in hours but take much longer to fully harden. Close doors gently for the first few weeks.
What about the inside of the cabinets?
Most people paint only the outside faces and the door fronts. Painting the insides adds a lot of time and cost for surfaces you rarely see. The exception is open shelving or glass-front doors.
Step four: new hardware
New knobs and pulls are the quickest change you can make. A few things to know before you buy:
- Measure the spacing. Pulls are sold by the distance between the two screw holes, measured center to center. Common sizes include 3 inches, 96 mm and 128 mm. If you’re keeping the old holes, match that measurement exactly.
- Filling old holes is fine if you’re painting. Holes can be filled, sanded and painted over, and new ones drilled where you want them.
- Use a drilling template so every pull sits in the same place on every door. Crooked hardware undoes the whole look.
- Count everything twice and buy one or two spares. Finishes can change between batches.
What a refresh can’t do
A refresh changes the look and feel of your kitchen. It doesn’t change the layout, add storage that isn’t there, or fix cabinets that are falling apart. If you’re thinking about something bigger down the road, it helps to know that before spending money on paint.
Planning something bigger down the road? Tell Jimmy about it and he’ll give you a straight answer. For a cabinet refresh now, he’ll give you a written price before any work starts. Get in touch.





Quick answers
In short.
Can you paint laminate or thermofoil cabinets?
Laminate can often be painted with the right cleaning, light sanding and a bonding primer. Thermofoil, the vinyl-wrapped kind, is a poor candidate, especially if it is already peeling. It is usually better to replace those doors.
How long does painted cabinet finish take to harden?
Most cabinet paints are dry to the touch within hours but take days to weeks to fully cure. Until then, close doors gently and avoid scrubbing. The paint can label gives the cure time for that product.
Do new cabinet pulls have to match the old holes?
Not if you're painting. Old holes can be filled and new ones drilled. If you're not painting, measure the distance between the old screw holes and buy pulls with the same spacing.